Sunday, May 22, 2011

Avocado Bacon Burger


What you will need:

1 pound of ground beef per 3-4 people.
Hamburger buns
Cheese Slices
Bacon, 1 Pkg per 3-4 burgers
1 LARGE Avocado per 3-4 burgers
Seasonings(however you like your burger seasoned)
Mayo
Burger toppers of your choice(onion, tomato, lettuce, pickle, etc...)
French Fries(fried or baked)
Medium sized bowl
Food Processor
Frying pan
Knife
Spoon

What you will need to do:


Fry the Bacon to how you like it!

I prefer mine CRISPY! Nom!
Put the ground beef in the bowl.

This is my choice of Seasoning(you don't have to use it!). 1-2 tsp of Onion Powder and 3+ tsp of Seasoned Salt!
Add Seasoning to the ground beef!
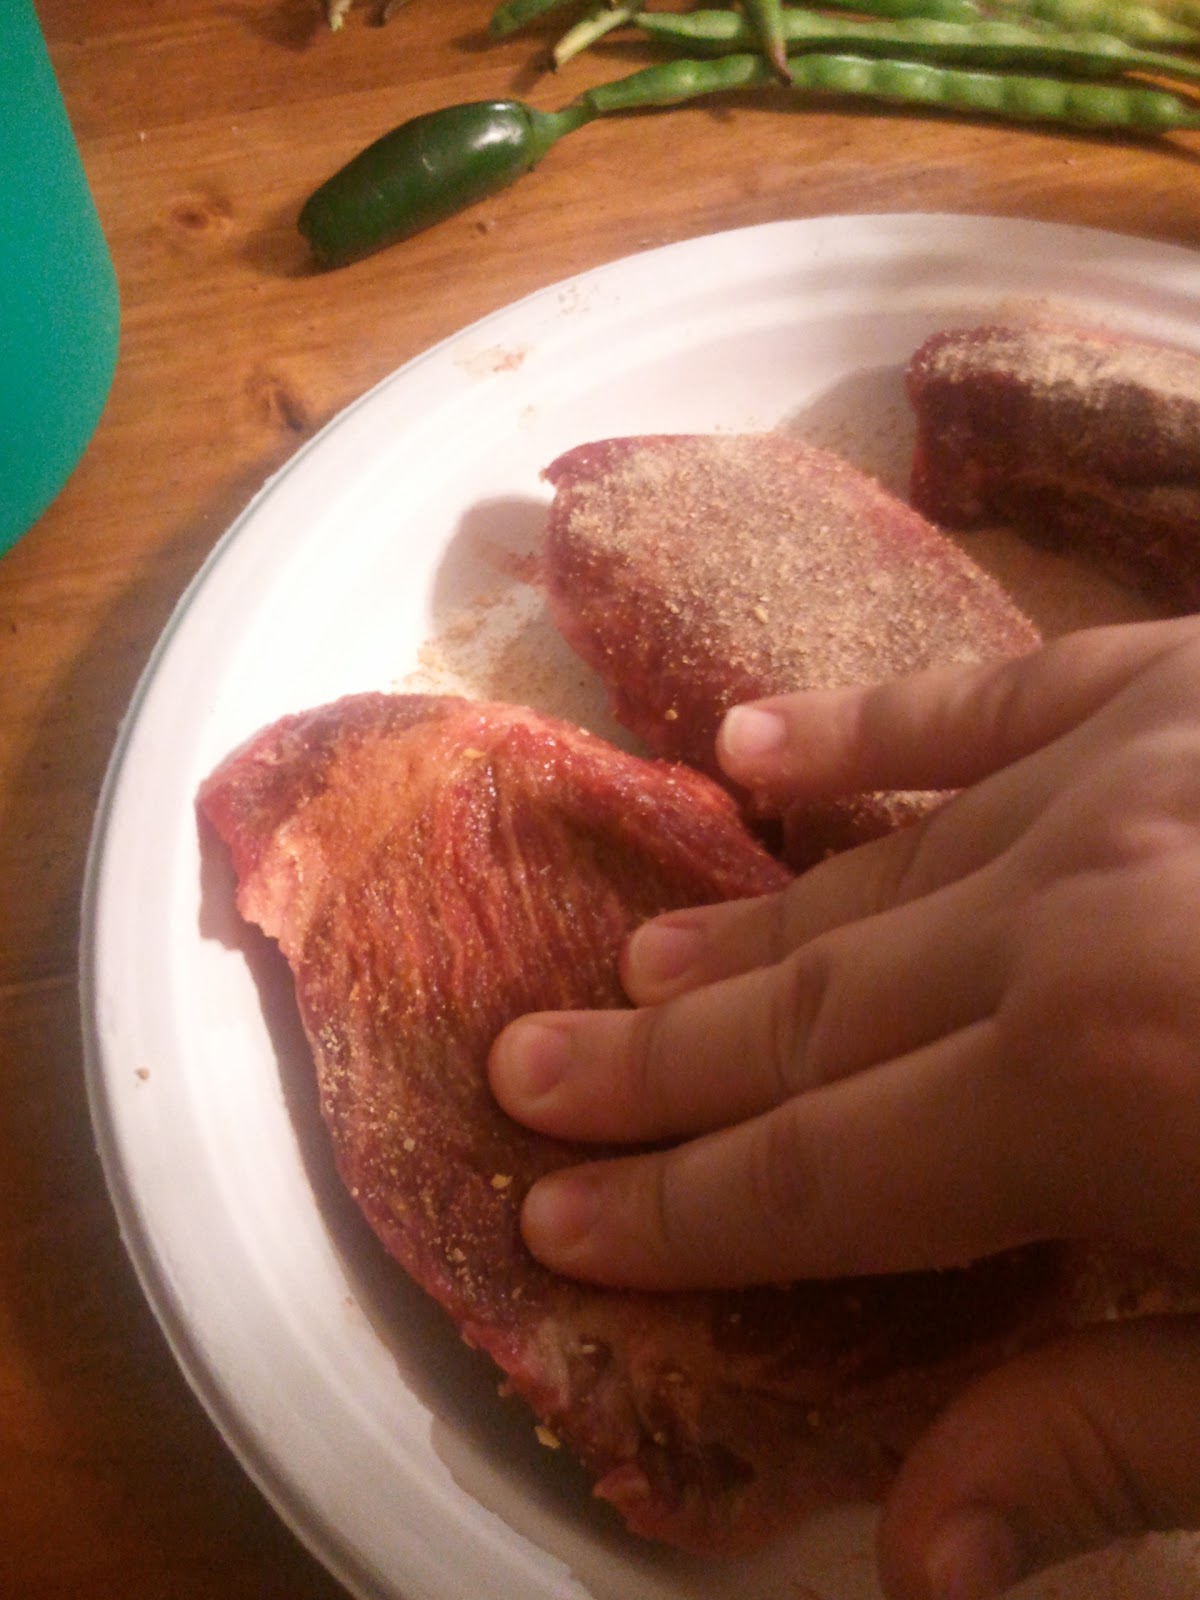
Time to get your hands dirty! Mix the meat and seasonings with your hand. Mix them until well blended. PLEASE wash your hands each time you touch the meat and are about to touch something else! 

Form the meat into 3-4 Balls.(Yes, the picture does have 2 large and one small! Baylynn doesn't eat as much as Jeffrey and myself!)

Preheat you skillet over medium heat. Then form the meat balls into patties. Put the Patties onto the skillet and cook the way you like them! (As stated in my 'Beef Ribs' recipe, i love the color pink but don't think it belongs in cooked meat, so mine are cooked to Well Done!)
As the burgers cook, you will have time to prep your Avocado Mayo! Cut the Avocado in half and take the seed out!

Add 2-3 TBSP of Mayo and one half of the Avocado(peeled) to the food processor. Remember, this is just for 3-4 burgers!

Process the combo until smooth! There may be a few chunks of Avocado left but it's ok!!

Cut the other half of the Avocado into slices! (I did mine while it was still in the skin, but i am sure you can do it out of the skin as well!)
 Add some of the Avocado Mayo to the buns(both sides).

Spread it onto the bun!
Add the Avocado Slices(make sure you peel them!!!)!

Add the toppings you like on your burger!
Add Burger, Bacon(2-3 slices per burger) and Cheese!

Put both halves of the buns together!

Serve with fries of your choice and Enjoy!

If you try this recipe, let me know how you like it please!

Until Next Time!

~Blahgallaboutit~

Saturday, May 21, 2011

Stove Top, Boneless Honey BBQ Beef Ribs!


First off, I HATE ribs! I hate that there is so much bone and no meat! It seems like a complete waist of money! Not to mention, i hate eating meat on the bone! Grosses me out! And even the boneless ribs have that bit of gristle(or whatever it is) that still feels like a bone. Imagine my surprise when i found COMPLETELY boneless ribs!

I had never made ribs before so i went at this blind sided! I tried it with pork ribs first and they were heavenly! So I tried it with beef...same thing! This is the only way i will eat ribs!

That being said, i hope you enjoy!

What you will need:

Boneless Beef Ribs(enough for your family...I do 1-2 per person)
Honey BBQ Sauce(I recommend Kraft!)
Barbeque Seasoning(found with spices or you can make your own)
1 Box of Macaroni(I, again, recommend Kraft! You also may need more than one box for a larger family)
6 TBSP butter(No, I am not trying to be Paula here!)
1/4 cup of milk(I use whole, but you can use what you prefer)
Black Pepper to taste
One can of Green Beans, Drained(unless you have a larger family..then you may need 2 or more)
2 pots(one small, one medium)
1 large NONSTICK skillet/frying pan
Tongs
Knife
3 Spoons
Prep plate
Water

What You'll Need to Do:


Lay Ribs out on your prep plate. Make sure they are all relatively the same thickness. If they are not, they wont be finished at the same time! (Yes, the ones above are like 3 difference sizes, but that is how they came! They still tasted the same!)


Next comes the Seasoning! I use what is pictured, but you can probably make your own or just season it with how you like it!

Sprinkle a good amount of the seasoning onto all sides of the ribs!


Time to get your hands dirty! Rub and massage the seasoning into the ribs, on all sides! (please wash your hands every time you touch the meat before touching something else! ick!)

Now that you have the ribs prepped, Put your skillet/frying pan on medium heat and let it get hot.


Now is also the time to start the water for the Macaroni in the medium sauce pan. Just follow the directions on the box!(this will more than likely be done before the ribs, so prepare it as the box says and then leave it on LOW heat until ready to be served, stirring occasionally to make sure it doesn't burn or get hard!) Also, add about 1/2 a teaspoon of black pepper to the macaroni for extra taste(when it has been fully prepared!)! Yum!


In the smaller sauce pan, you will need to add the drained can of green beans, 2 TBSP butter and 1/2 tsp of black pepper. Put this on low heat and just let it simmer until ready to eat. You will need to stir is on occasion.


Once the frying pan/skillet is preheated and the macaroni and green beans are started, it is time to get the ribs cooking! Lay them neatly on the skillet(you should be able to hear them searing!)


Cook the ribs to your desired doneness. I Love the color pink but don't think it belongs on meat, so i cook mine ALL the way(about 7-10 minutes on each side depending on the thickness). When it is done on one side, flip it!


Ohh! look at those pretty grill marks! haha! Ok, Finish cooking them on the flipped side. I normally cut the meat open to make sure they are cooked to my liking(yea, i know, that's like meat murder but i don't care! You can test it how you know how!)


Time to add the BBQ Sauce! just pour a little bit(or a lot!!) onto the meat.


Spread the BBQ over all sides with a spoon.


Flip the Ribs and allow the sauce to cook to them while you add the BBQ sauce to the other side! After the sauce is good and sticky on the first side, flip it again and let it get good and sticky on the other side!

Remove from heat and serve while it's warm!!

Now it is time to enjoy!!!

If you try this, please let me know how you like it!

Until Next Time!

~Blahgallaboutit~

Wednesday, May 11, 2011

Something Smells Rather Fishy Here....

Just about everyone who knows me, knows i opened up a Google AdSense account to make free money with my blogs, and everyone who has me on Facebook knows they disabled my AdSense account yesterday for 'fishy clicking'.

Well, I'll have Google know that i had two accounts set up. One being used(this one) and one not being used(the one for my old blog account at Wordpress). Both accounts were disabled yesterday(within 7 hours of one another)...both for the same reason... 'Fishy Clicking'...

Now, call me stupid here but if one account wasn't even set up on the website nor being used, how was there fishy clicking? how was there any clicking?!

i have come to the conclusion that google just uses people, like me, to get their clients more clients and then rips the people, like me, off. I had made $60 (It doesn't seem like a lot but in 2 weeks and it all being FREE MONEY...it's a ton!) and they took it away to give back to the clients(or so they say...).

Again, let me get this straight, i put YOUR stupid ads on MY blog to annoy the crap out of everyone including myself... and i do exactly what you want me to do(I am giving your clients new clients) and you take my money away? I am pretty sure, 'fishy clicking' or not, I EARNED that money!

And for the record, i know it is free money and i didn't have to do hardly anything for it, but it's still the fact that i did put the ads on my blog for them and yet i get nothing in return except an e-mail and a 'thank you for your cooperation'. Pft, puh-lease! The e-mail also said 'to appeal, click here' so i did and what happened? It took me to a list of things as to why it may have been disabled...well duh! You sent me that e-mail already saying why you dimwits!

I almost want to contact the ads that were on my Blog and see if Google actually gave them their money back!!! I just don't know any of the ads except for one which caught my eye every time i looked at my blog!
Nothing says 'hello beautiful' like a stack of diamond rings! If I am ever rich(HA!), that place will so be getting my business for sure! There are 5 diamond rings calling my name... too bad they cost $300 EACH! Ack!

So, basically, i do not recommend making an AdSense account with the mind set that you are gonna make money because just when the amount gets large enough to make plans for, they snatch it back!

Until Next Time!

~Blahgallaboutit~

Friday, May 6, 2011

Renee's Green Sauce

What You'll Need:

4-5 Avocados
16 oz Sour Cream
1* 10oz can Rotel(your choice of flavor combo...I normally go with Cilantro and Lime)
1 Tbsp Garlic Powder
1 4oz can Green Chili Peppers
2 Tsp* salt
3 Tbsp* Lemon Juice
3 oz* Cream Cheese
1* Bundle of Cilantro
If you want the green sauce to be spicy, you'll also need a few pickled jalapenos
Blender/hand blender(if using a regular blender, you may have to do 2-3 different blends...hand blenders work best!)
Spoon
Sharp Knife
Large Air Tight Container

* I use more. With the salt: i add more towards the end, taste it, add more if it needs it...but everyone has different taste buds. I think the extra salt brings the flavors out more. With the Lemon Juice: i think the extra adds a little bit of flavor(before it was used just to keep the avocados from browning) So i add just a little bit at a time at the end(maybe 1 tbsp at a time). Too much will ruin the yummyness and make it a Green Lemon Sauce which isn't too yummy in my opinion! With the Cream Cheese: I have recently been adding the full 8 oz block and it doesn't change the flavor to me and it's cheaper to buy the 8 oz block than it is the 3 oz block! But, taste it with the 3 oz before adding the 8 oz. Some people might be able to taste a difference. With the Rotel: I sometimes use 2 cans. it makes it a little bit thinner and have a little bit more of a tomato flavor! With the Cilantro: I use anywhere from one bundle to 3 bundles. I love the flavor it gives, but again every ones taste buds are different. Start with one, if you think it could use more, add another and so on!

What You'll need to do:


Cut the Avocado in half! Take the seed out, and then using the spoon, gently remove the avocado from the peel. Add it to your container/blender.

Tip: If you don't know how to tell if an avocado is ready to use, here's how i know... Pick up the avocado in one hand. GENTLY press on it. If it Squishes, it's too far gone... if it's hard as a rock, it isn't ready yet(but will be in a day or 2)... if it's firm but can mush with gentle pressure, it's PERFECT(but needs to be used asap!)!


                   Next, you'll need to add all of the ingredients, except the cilantro, to the container! 


You may find this step funny, but in order to truly appreciate the cilantro, you have to smell it! I smell it about 10 times before it ever makes it into the container! If they had a cilantro candle, I'd be in heaven! Cilantro is just the perfect herb!

Tip: Cilantro and Parsley look A LOT alike. How do i know how i picked the right one before looking at the tag? By Smelling it! To me, parsley doesn't have a smell!


Next, you'll need to rinse the cilantro(do not take it out of the rubber band!!). After it's rinsed, take one hand and place it around at the rubber band and take your other hand and place it about 1/2 inch above the rubber band. Then twist in opposite directions with a little bit of pressure.


The top half should easily come off. If not, just take a knife and chop it off! Anything below the rubber band will be thrown away! Anything above the rubber band with be added to the container!


And then comes the fun part! Blend it until there are no more chunks and it is smooth! You will have to scrape the sides/bottom a few times to make sure that everything gets blended together! After it's all blended, taste it and add the extra ingredients IF you think they are needed and then blend them in as well!


The end product goes great with thin restaurant style tortilla chips! You can even try it on your favorite Mexican dish, or even on a baked potato! It goes well with a lot of things!
It does make a good bit, so it is great for parties. Keep it refrigerated and eat all of it within 4-5 days. It will slowly start to turn brown and it will start to taste funny if eaten after that!

I hope you like it! Please send me your feedback!

Until Next Time!

~Blahgallaboutit~

Tuesday, May 3, 2011

Dear Men,

Stop living in the past! We are in a day in age where men are just as capable of doing things for themselves as women! Stop being so dependant on a women!

If you feel the only place for a woman to be is in the kitchen making you a meal, then when she makes you a meal, sit down, shut up and eat it, with no complaints! ...Or, make it yourself if you don't like it, you have two working hands just like she does!

If you dirty your clothes....wash them.

Same goes for you dirty dishes...wash them yourself.

If you have left over food on your plate, scrape it into the trash and then place your plate in the dishwasher to be washed...it takes 2 extra minutes of your time!

If your woman cooks and you expect her to clean the dishes she used, then when you cook, she expects you to show her the same courtesy!

If you need something to drink... get off your ass and get it yourself!!!

If you want sex and she doesn't... you have a hand... get to using it!

Basically, learn to do stuff for yourself because one day, if you keep treating your woman the way you do, you wont have a woman to come home to!

Until Next Time!

~Blahgallaboutit~

--Please note, this was not about my husband in any way, shape or form and it isn't to all men! Just those who think the only reason a woman was born was the serve him.--

Sunday, May 1, 2011

Prompt #2: The 14th Picture

Prompt number 2 says: A picture is worth more than a blank page. Take out those dusty old photo albums(I only have a few albums, so i used an online album..same concept, just without the dust!)Pick out photo number 14. Look at the photo for 2-3 minutes. Then write about the photo for 10 minutes.

...three minutes later...

Photo number 14 of my Wall Photos Albums on Facebook was a picture of  Me, Daisy and Chica the day Daisy became a part of our family!


                                                                         Picture #14!

That day started with a random trip to the pet store just to look at the animals and pet the ones that were out. We had NO intentions of adopting any animals...

and then we saw her. She was all alone. The last one of her 13 siblings and she was still there, waiting for a good home. When she looked at us, she had these sad eyes. it was heart breaking.

Then we saw her foot. She had a spot on her foot that looked similar to mange. Her whole foot was bald. We asked why and they said she had scraped it on the cage which made it bald but the vet gave her some medicine to make sure it wasn't mange.(which kind of made me question if they knew what they were talking about!) We also found out that that's the reason she had not found a home yet. No one wanted a sick puppy. no one even wanted to give her a chance!

That's when we decided we wanted her! She was going to come home with us....there was just one problem! We had to get grandmother's approval. After about 10 minutes of begging and pleading, she was finally ok with it(along with a months worth of nightly back rubs!) That sad little puppy was coming home with us!!

When we picked her up, she just laid there. You could tell how sad she really was. She wasn't acting like a normal 'licking your face because I'm happy' puppy. I think she thought we were going to pick her up, love on her and put her back(It was as if someone had done that to her 1000 times)....but that's where she was wrong!

So we filled out all of the paper work and we were on our way home(when she got in the car, she was finally happy! She knew she was going home! She was never again going to be the unwanted puppy)! We thought the whole way home 'what are we going to name her? she looks like a ___...No, that doesn't fit her...what about___?...No..' it was a never ending battle! By the way, she sat in the carseat with Baylynn pretty much the entire car ride home! It was adorable!!

When we got home, we showed her to grandmother and decided since she had let us get her, she would get to name her. Well she fell off of grandmothers bed, so grandmother said 'woopsie daisy'... She, right then and there, became Daisy!

The picture was taken in the kitchen. I was cooking dinner and had picked her and Chica up at the same time and Jeffrey decided to take our picture! It was taken with my cell phone so it isn't the best quality ever but it works!

...end of 10 minutes...


Daisy Today!

Daisy-May, as we now call her, has grown into a horse of a dog! She is a lab/husky/shepherd mix and is huge! Never in a million years would i think she would have gotten as big as she has! Huskies are not that big of a dog, so i figured she would be a medium-large dog, but never did i think she would be as big as a small Great Dane!

We did get her foot checked out by two different vets who both checked it for mange and both test came back negative. One vet said he didn't know the cause and the other vet was on board with me in thinking it looked a lot like a burn. She still has a bald foot and everyone always thinks it's mange, but it isn't, I assure you! After a year of her being with us, the spot has not grown(other than because of her growing feet!).

Daisy is a wonderful dog. All of the other people who passed her up are missing out! She is perfect, other than not listening too well! Now that we have her, i couldn't imagine life without her!

Daisy With her Favorite Chew Toy(she was about 5 months old here)


                                         Daisy Today!(she is now one year and 5 months old!)
                        She is on a king sized bed...just so you can tell how HUGE she really is! lol


                                        Baylynn(5-6 months) and Daisy (3-4 months) 'sleeping'!

Until Next Time!

~Blahgallaboutit~